|
|
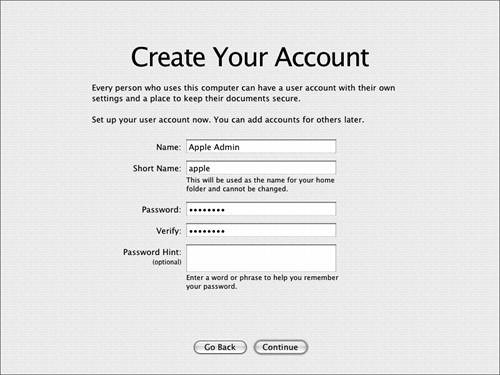
Completing the InstallationWhen the Mac OS X Installer has finished, the bulk of the installation process is complete; but you should perform a few recommended steps to ensure an optimal user experience with the new operating system. Configuring with Setup AssistantWhen the installation is complete, the Installer restarts the computer and Setup Assistant opens to gather information necessary to register Mac OS X and create a new user account. If Mac OS X was installed previously, Setup Assistant will not run automatically because the user accounts and configurations are kept from the original installation. For the purpose of following the exercises in this book, you should make the selections explained on these pages. However, if you are comfortable with the installation process and know what you are doing, feel free to configure Mac OS X differently. NOTE If you don't type anything in the Setup Assistant, after a few minutes you'll hear instructions on how to use VoiceOver to set up your computer. VoiceOver, new in Mac OS X 10.4, is available only in English. For more information on VoiceOver, see "Mac OS X Accessibility Support" in Lesson 6, "Application Environments."
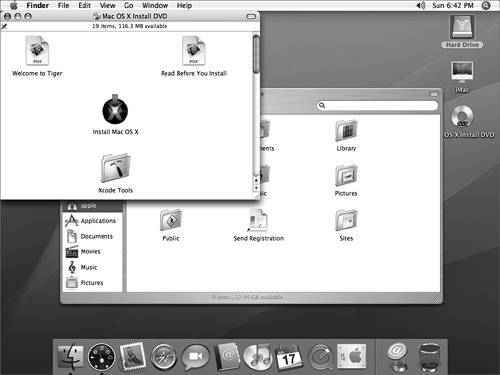
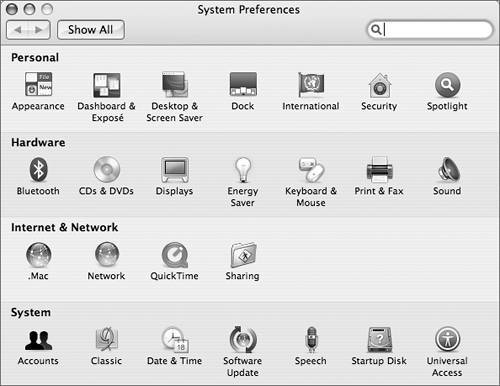
You can quit the Setup Assistant after you have created the first user account, but you will need to complete the Mac OS X configuration, including network settings, using other utilities. Transferring Information with Migration AssistantMac OS X 10.4 includes the Migration Assistant, which automates the migration of user information from any Mac OS X volume or partition, whether in another Macintosh or on an external drive. To transfer information from a Macintosh computer running Mac OS X version 10.1 or later, first start your older computer and press the T key until the FireWire logo appears on screen, indicating the computer is in Target Disk Mode. Using a standard FireWire cable, connect the older computer to the newer computer. Launch Migration Assistant (/Applications/Utilities) on the newer computer and follow the onscreen prompts to transfer your home folder data, applications, user accounts, and most preferences from the older computer to the newer one. For more information, refer to Knowledge Base document 25773, "Mac OS X 10.3: Transferring data with Setup Assistant frequently asked questions (FAQ)." NOTE Migration Assistant does not transfer all data from the older computer. Some preferences and File Vaultprotected user accounts are not transferred. Also, you might need to upgrade or reinstall some transferred applications before they will function correctly on the new operating system and computer. Configuring System PreferencesAfter you have used Setup Assistant to complete the initial configuration of Mac OS X, you can further configure the operating system using System Preferences. System Preferences is located in the main Applications folder, but it can also be opened by choosing it from the Apple menu or by clicking its icon in the Dock. System Preferences displays a collection of icons, each representing a collection of settings that can be configured. By default, the icons are grouped into four categories: Personal, Hardware, Internet & Network, and System. If you prefer, you can change System Preferences to display the icons in alphabetical order by choosing View > Organize Alphabetically. The View menu also provides a complete list of the panes, allowing you to go directly from one System Preferences pane to another. Be aware that the System Preferences window may look different from the following screenshot if the user has added third-party preference items.
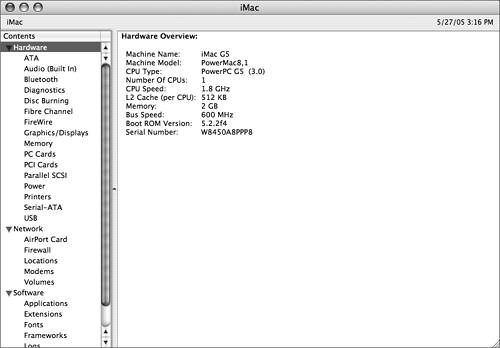
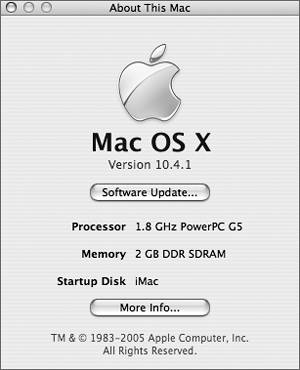
When you make changes in System Preferences, Mac OS X stores your settings in individual .plist files. If a System Preferences pane displays an icon of a lock in the lower-left corner, it means that particular preference affects all users. As such, to make changes to that setting, you must first authenticate as an administrator. Systemwide preference files are stored in /Library/Preferences. Conversely, panes without the lock icon control settings specific to the currently logged-in user, and changes are stored in ~/Library/Preferences. Finding System InformationYou can choose Apple > About This Mac to find basic system information such as the operating system version, amount of memory installed, and the processor type and speed. Click the version number to display the Apple engineering build number; click it again to display the computer's serial number. NOTE Earlier Macintosh computers, such as Power Mac G3 (Blue and White), are unable to display the computer's serial number.
Click the More Info button to launch System Profiler, which provides detailed system information.
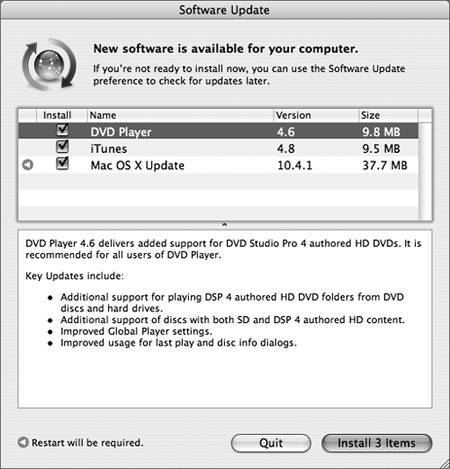
Updating System SoftwareAfter you install Mac OS X, Software Update will run automatically, if you have a working Internet connection. (If Software Update does not run automatically, choose Apple > Software Update.) This process checks Apple's software download site for the latest updates for Mac OS X and lists available updates. When you select an update from the list, Software Update displays information about the update. Usually the information includes a URL you can click to see additional details.
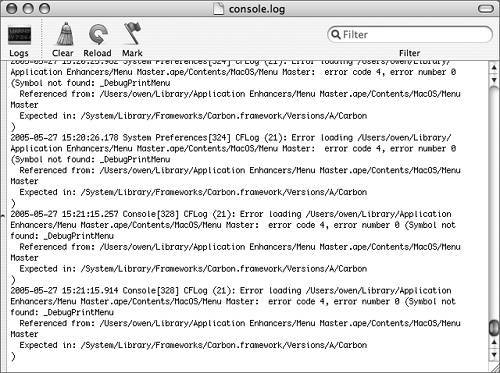
Software Update provides options for how you want to process an update. If you don't want to install a specific update (if, for instance, you don't have an iPod and don't need iPod updates), you can select the update in the list and then choose Update > Ignore Update. In the future, Software Update will not display that update. However, when a later version of that update is posted, it will be added to the updates to install. If you need to update multiple computers running Mac OS X, you may want to download the update by choosing Update > Download Only. Then, instead of installing, the update package will be downloaded to /Library/Packages. You can copy downloaded packages from this location to other computers as needed, where they can be opened and installed manually. NOTE Sometimes an update will be available only after a prior update has been installed. To ensure that you have a fully up-to-date system, after you complete an update of your system, you should run Software Update a second time to see if any newer updates are available. To verify whether a software update was installed successfully, look for its receipt in the folder /Library/Receipts. The Installed Updates pane of Software Updates preferences also lists the updates that have been installed. Clicking "Open as a Log File" displays the installer log file in the Console utility, which lists installed updates and any errors encountered. Checking Console LogsThe Console utility lets you see technical messages from the Mac OS X system software and Mac OS X applications. Processes that do not have a graphical interface will output messages to Console as well as to the system log. Most of the information sent to Console is captured in the system log. Opening the Console utility while you are troubleshooting will give you a better sense of what is happening on Mac OS X, because the Console utility displays information and errors from processes you may not know are running. Lines displayed in Console are usually made up of a date stamp, the name of the process, and the message. For instance: Feb 28 18:45:08 localhost SystemStarter: Startup complete. This message is simply informational. It shows that this computer completed startup at 6:45 P.M. on February 28, 2005. Using Console to View Installation LogDuring installation, any errors and informational messages are stored in a log file. After installing, or if you are experiencing problems that you think may be related to installation, check the installation log to see if any errors occurred. Troubleshooting Mac OS X InstallationIf your computer meets the Mac OS X system requirements but you're unable to complete the installation, you can troubleshoot the problem using the knowledge, tools, and processes you've learned in this lesson. As you've learned, installing Mac OS X is a process that involves transferring the packages of system software from the Mac OS X Install DVD to the hard disk of your computer. Very generally speaking, this process has three phases. These phases represent potential points of failure:
Problems with the Mac OS X Install DVDDuring the installation process, the Installer attempts to verify the integrity of the DVD. If you are certain your disc is clean and has no smudges or scratches, you can skip this verification step. If the Installer indicates that there's a problem with the DVD, try using the disc on another computer. If you experience the same symptom on two computers, the disc could be the problem. If your Mac OS X Install DVD is unusable, call Apple for replacement. If the disc works on another computer, the problem could be with your computer's optical drive. Problems Processing the PackagesThe CPU is very unlikely to be the source of an installation problem, especially if the computer starts up successfully. However, marginal-quality third-party memory can contribute to installation issues, issues that might not otherwise be apparent in day-to-day computer tasks. You might need to remove third-party RAM from your computer. TROUBLESHOOTING During an installation, Mac OS X boots from the Mac OS X Install DVD, and is unable to use Virtual Memory. If you have a limited amount of physical RAM available, the speed of your installation might be affected, and if RAM is very limited, you might encounter errors if you are transferring a large amount of data using the Archive and Install option. Problems Writing the PackagesTo test for problems with the hard disk drive to which you are installing, start the computer with the Mac OS X Install DVD, choose Utilities > Disk Utility, click First Aid, then click Verify Disk. After verification or any necessary repair, try the installation again. TROUBLESHOOTING An Erase installation often succeeds where installations without erasing fail. You should make sure you have a working backup of your important data before erasing the volume. Due to the extreme nature of this solution, you might wish to try all other options first. Other Troubleshooting TipsIf you encounter problems during the installation of Mac OS X or any software updates, there are a few simple things you can try that will help you resolve or gain more information:
NOTE If your installation does not work, or you feel that you need to undo a System Update, you should not try to delete some system files and run an installation from an older Mac OS X Install Disc. That can introduce a wide range of problems, including unlinked application frameworks that require another reinstallation to repair. If an installation or upgrade does not go smoothly, back up all user data and perform an Archive and Install with a current Mac OS X Install Disc, then run Software Update to get up-to-date, and reinstall all third-party applications and drivers. For more tips, refer to Knowledge Base document 106692, "Mac OS X: Troubleshooting installation and software updates." |
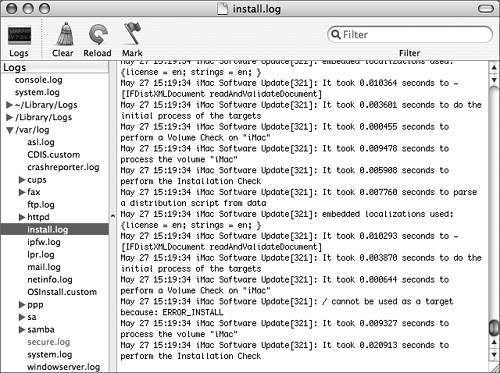 Look for any errors that may have
occurred during installation.
Look for any errors that may have
occurred during installation.
|